

Choose the right fade height
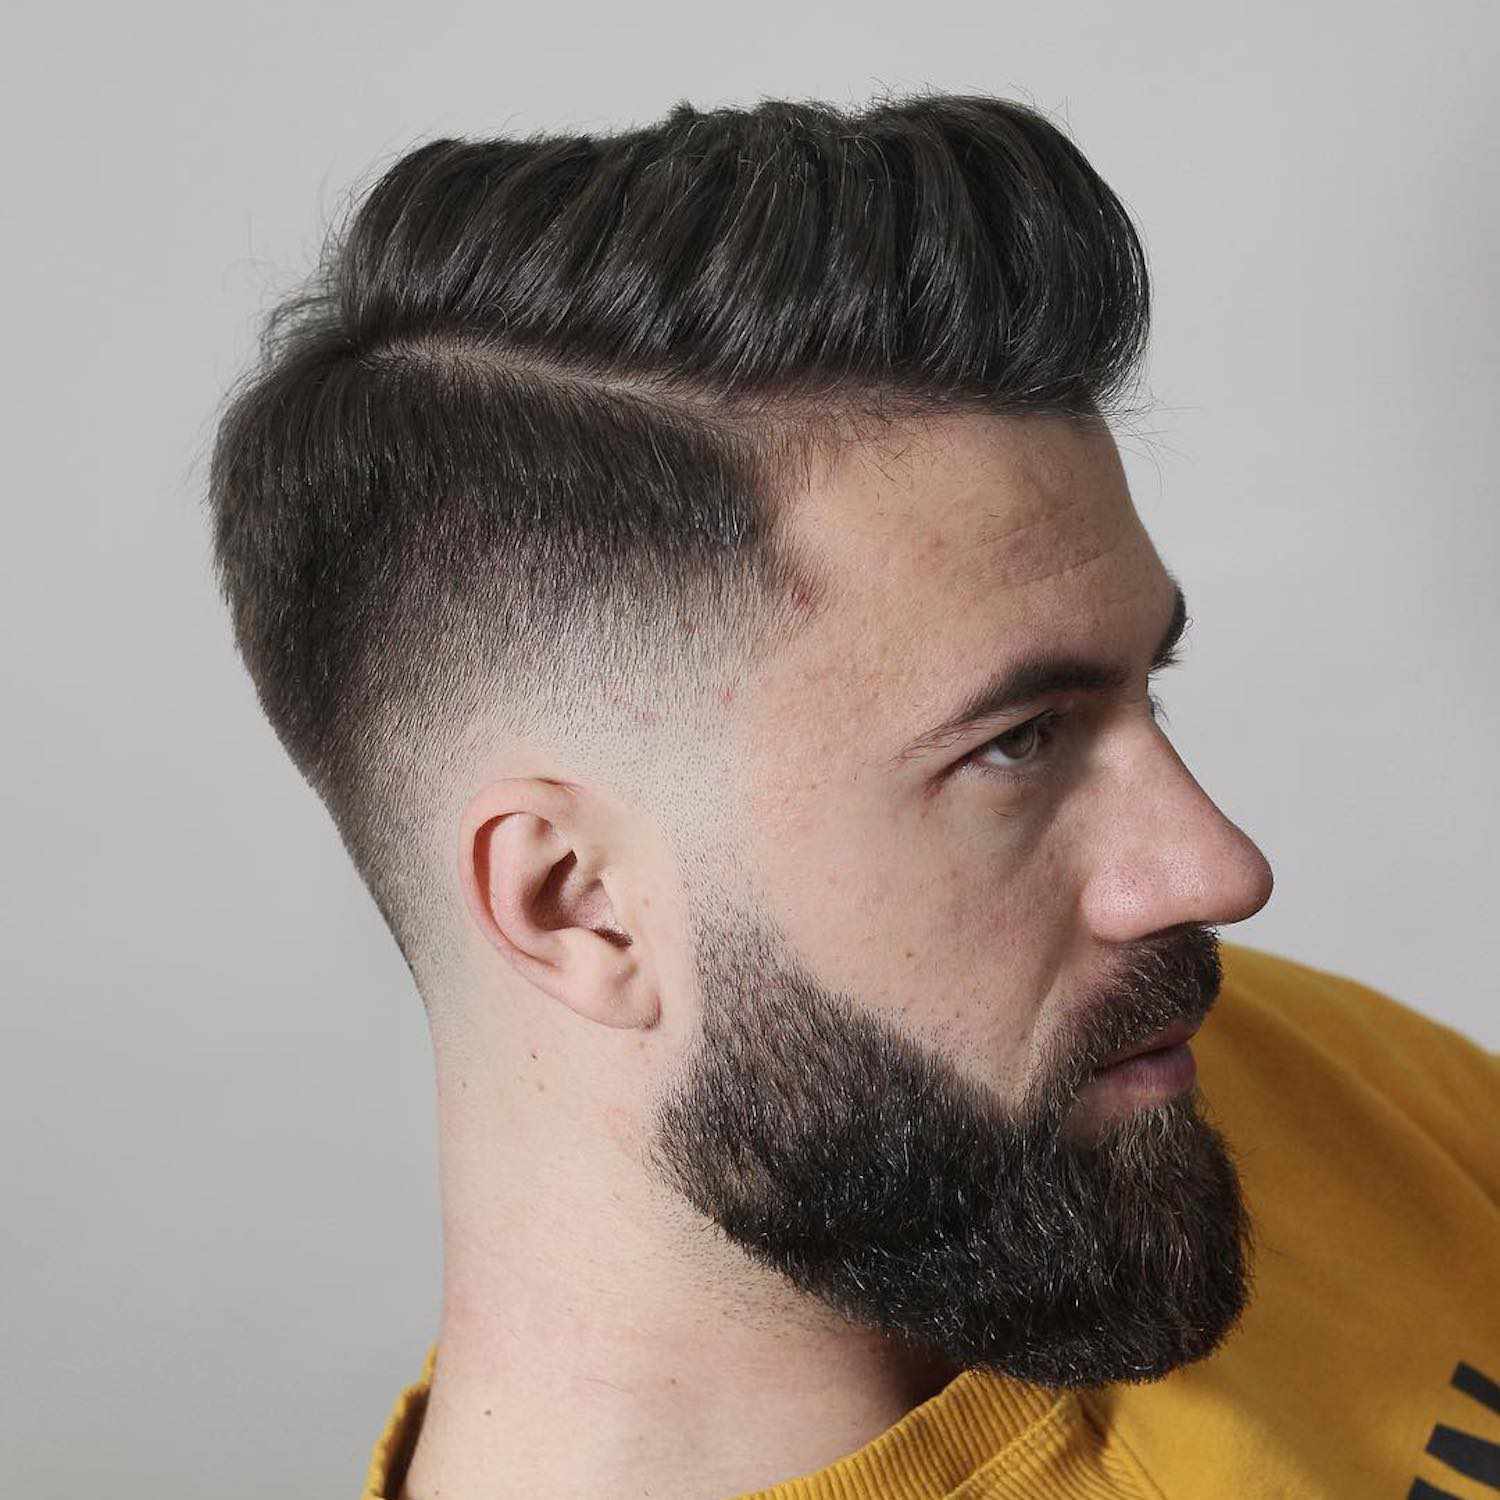
Selecting the correct fade height is the first step in styling modern fades for every hair type. The height determines where the taper begins on the side of your head, and it must align with your face shape and hair texture to look intentional rather than accidental. A low fade keeps the transition subtle and conservative, while a high fade creates a bold, dramatic contrast that draws the eye upward.
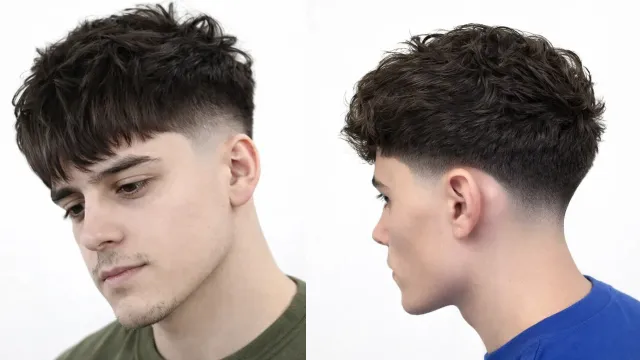
A low fade is the safest entry point for beginners. It blends the sides into the top with a gentle gradient, making it forgiving if your hairline is irregular. This height works well with wavy or curly hair because it doesn't exaggerate the volume on top, keeping the overall silhouette balanced.
Mid and high fades offer more definition. A mid fade sits right at the temples, creating a sharp horizontal line that can help elongate a round face. A high fade starts much higher up, often near the parietal ridge. This style is popular for curly and coily hair types because it removes bulk from the sides, allowing the natural texture on top to stand out without looking weighed down.
Skin fades take the gradient all the way down to bare skin. They provide the highest contrast and a modern, clean aesthetic. However, they require more frequent upkeep—often every week or two—as stubble appears quickly. They pair best with straight or wavy hair where the transition from skin to hair is sharp and distinct.
Gather your fading tools
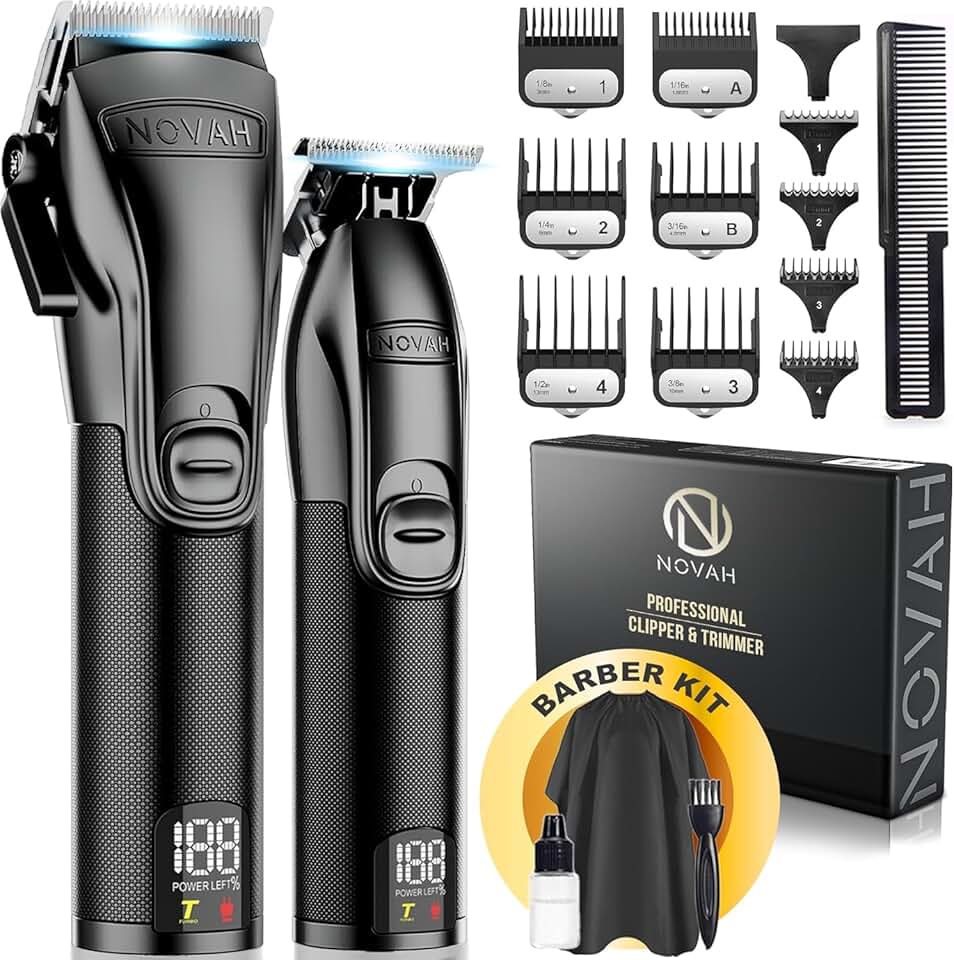
You can’t execute a precise modern fade without the right equipment. Cheap clippers with dull blades will snag hair, create uneven lines, and leave you with a patchy result that looks nothing like the clean gradient you’re aiming for. Investing in quality gear is the first step toward professional-looking results at home.
Start with a reliable cordless clipper. Look for a model with a strong motor and adjustable blades that can handle different hair textures, from fine straight hair to thick, coarse curls. The motor needs enough torque to cut through dense hair without bogging down. Pair this with a set of precision guards. These plastic attachments determine the length of the cut, and having a full range (from 0.5mm to 19mm) allows you to create the smooth transitions characteristic of a modern fade. Avoid generic, no-name guards; they often snap or fit loosely, ruining the precision of your blend.
Don’t overlook the supporting tools. A good comb with fine teeth helps you section the hair and guide the clippers. A neck duster brush keeps loose hair off your client’s skin and clothes, while a spray bottle with water can help manage stiff or curly hair types during the cut. A mirror is also essential for checking the back and sides for symmetry.


As an Amazon Associate, we may earn from qualifying purchases.
Execute the fade sequence
A modern fade is less about the clipper guard you pick and more about the order in which you use it. Think of the process as building a gradient from the bottom up. You start with the bulk removal, move to the blending of the mid-tones, and finish with the detailing at the skin line. Skipping steps or rushing the blending phase is what turns a clean cut into a jagged mess.
Start by setting your guard length. For most hair types, you begin at the bottom with a longer guard to remove the bulk of the hair without cutting too close. If you have thick or coarse hair, leave a little more length than you think you need; you can always take more off, but you can’t put it back. Use a smooth, upward sweeping motion with the clippers, following the natural curve of the head.
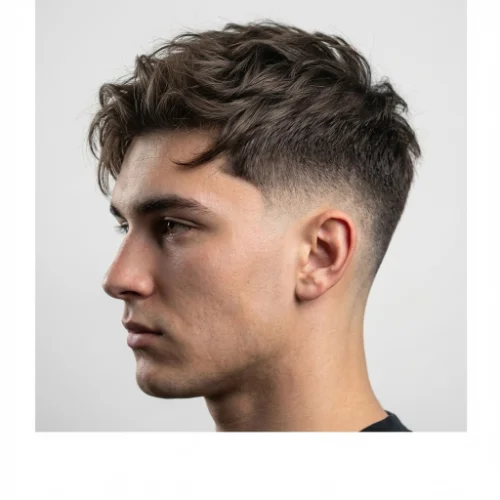
Attach the longest guard you plan to use for this section of the fade. Start at the nape of the neck and the sides, cutting upward to remove the majority of the hair. Keep the clipper flat against the scalp to ensure an even baseline. This step establishes the foundation for the gradient, so consistency here prevents patchy spots later.
Switch to the next shortest guard. Instead of a full pass, use a half-open lever or a flicking motion to blend the transition between the bulk and the shorter hair. Work in small, vertical sections, moving from the back to the sides. This is where the "fade" begins to take shape, softening the harsh line left by the first guard.
Drop down to the shortest guard that still leaves some hair. Use the corner of the clipper blade for precision around the ear and the hairline. Blend this section into the mid-section using the same flicking motion. Check for any dark spots or uneven patches, and go over them lightly to ensure a smooth transition.
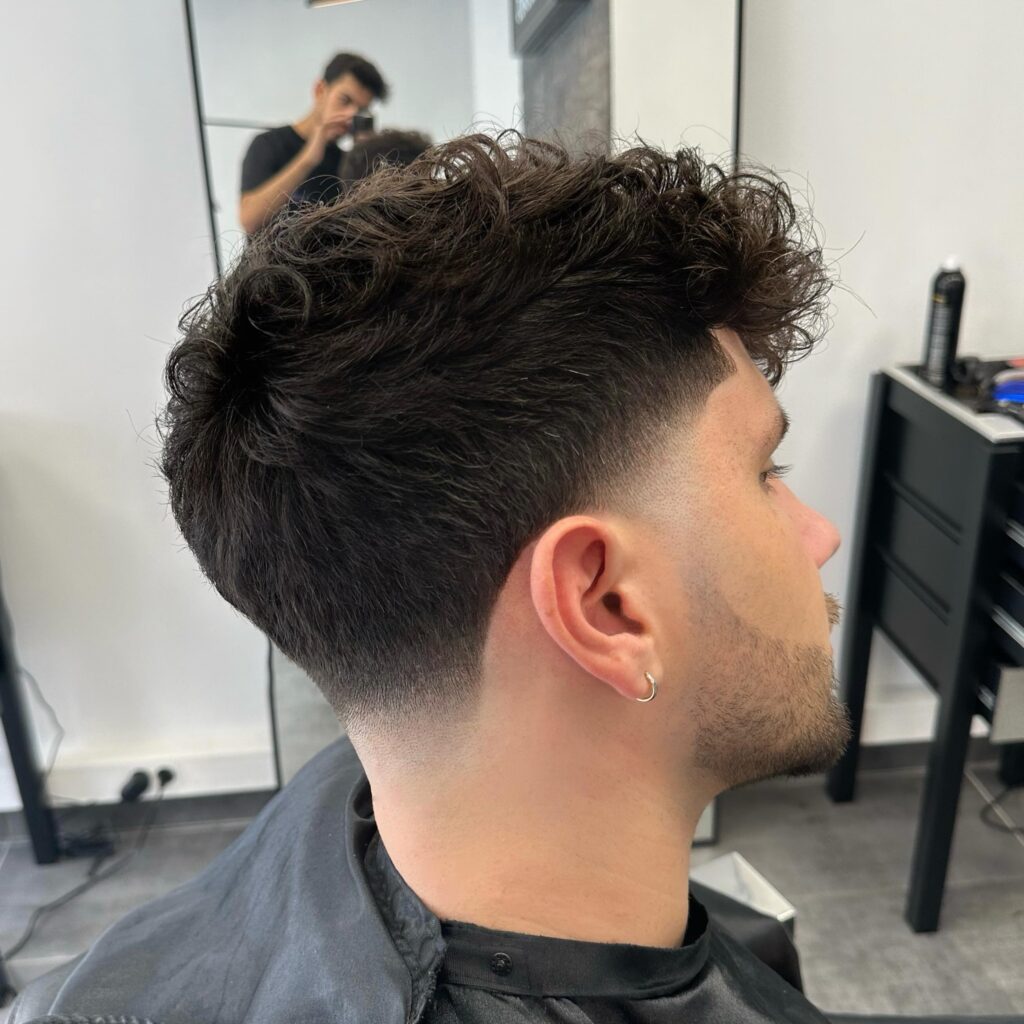
Use a trimmer or a zero-guard clipper to clean up the very bottom of the fade. This creates the sharp contrast that defines a modern fade. Be careful not to go too high; the skin line should stay low and clean. Use a brush to remove loose hair and check your work in the mirror from multiple angles.
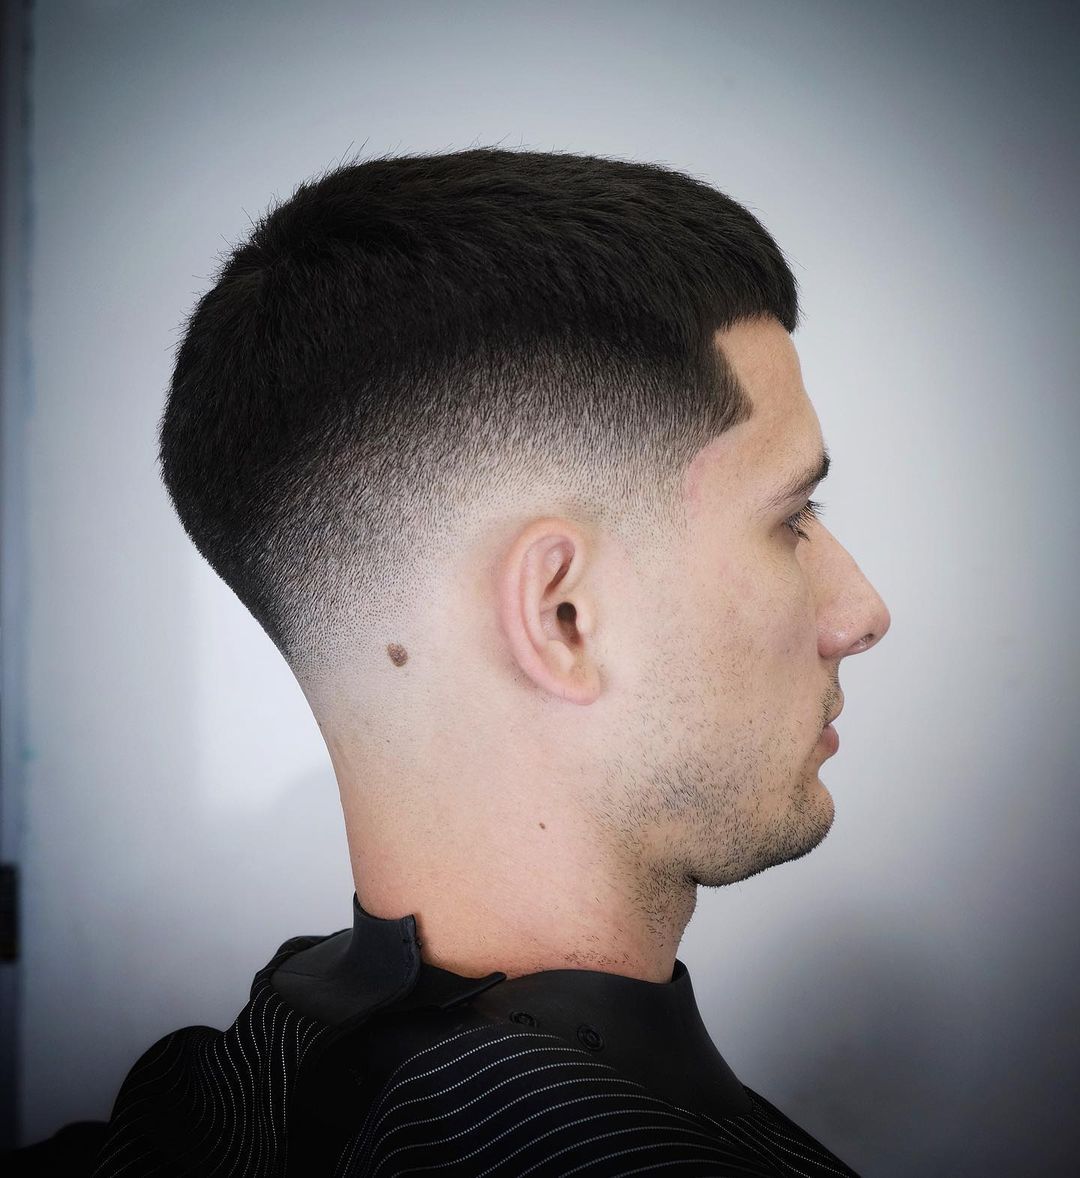
Finally, blend the faded sides into the longer hair on top. Use scissors or a longer guard to trim the top, then use the clippers with no guard to blend the transition zone. This step ensures the fade doesn’t look like a separate helmet sitting on top of the head. The goal is a seamless flow from short to long.
Once the fade is blended, step back and inspect the symmetry. Look at the head from the front, sides, and back. If you see any uneven lines, go back in with the trimmer to correct them. A modern fade relies on precision, so take your time with the details. Use a mirror to check the back, or ask someone to help you verify the balance. This final check ensures the cut looks clean from every angle.
Adjust technique for hair type
Straight and curly hair behave differently on the barber’s chair. Straight strands lay flat and show every imperfection in the blend, while curls bounce and hide density until the hair is cut. If you treat both textures the same way, you risk a harsh line or an uneven fade that looks sloppy as soon as the hair grows out.
The goal is to match your clipper guard work to the natural behavior of the hair. For straight hair, focus on precision blending to avoid visible steps. For curly hair, account for the "shrinkage" factor—the hair will spring up significantly once dry. Cutting curly hair too short at the start often results in a fade that disappears into the skin too quickly, leaving a bulky, unblended patch higher up.
Straight Hair Adjustments
Straight hair reveals every mistake. If you leave a hard line between guard numbers, it will look like a shelf. Use a smaller clipper guard (like a #1 or #1.5) to feather the transition zones rather than relying on larger guards that create wide, obvious bands. Keep the blade flat against the scalp to ensure a smooth gradient. When detailing the edges, use a trimmer for sharp lines, but be careful not to over-thin the hairline, which can make straight hair look sparse.
Curly Hair Adjustments
Curly hair needs a slightly higher fade line because the curls compress the visual length. If you cut a low fade on straight hair, it might look high on curly hair once the curls spring up. Start with a slightly higher guideline and blend upward more aggressively. Use a lighter touch with the clippers to avoid cutting too deep into the curl pattern, which can cause breakage or uneven growth. Always check the dry texture after cutting to see where the curls naturally settle and blend any remaining harsh lines by hand-scissoring if necessary.
Maintain your modern fade
A sharp modern fade relies on consistent upkeep. Without a simple home routine, the gradient blurs and the neckline thickens within days. Treat your haircut like a project that needs weekly maintenance to keep its structure intact.
Your weekly maintenance checklist
Keep these tasks in rotation between barber visits to preserve the clean lines.
- Wash with care: Use a sulfate-free shampoo twice a week. Over-washing strips natural oils, causing dryness that makes the fade look patchy.
- Moisturize daily: Apply a light, non-greasy hair oil or matte balm. This keeps the hair pliable and prevents the "white stubble" look that comes from dry skin.
- Clean the neckline: Shave or trim the neck and sideburns every three to four days. A clean edge makes the fade look significantly sharper.
- Exfoliate the skin: Use a gentle face scrub once a week. This prevents ingrown hairs, which are common in tight fades and can ruin the gradient.
Choosing the right products
Your hair type dictates the product you need. The goal is to add texture without adding weight or shine, which obscures the fade's transition.
- Straight or fine hair: Stick to a matte clay or fiber wax. These provide hold without making the hair look wet or stringy.
- Curly or coily hair: Use a light curl cream or leave-in conditioner. Focus on defining the curls on top while keeping the sides dry and clean.
- Wavy hair: A sea salt spray followed by a light pomade works best. It enhances the natural wave pattern while maintaining a structured look.
When to book your next trim
The fade starts to lose its definition after two weeks. If you want to keep the gradient crisp, schedule your next visit every 10 to 14 days. Consistency is the only way to keep the modern fade looking fresh.
Common modern fade mistakes to avoid
Even experienced barbers slip up, and home grooming amplifies the risk. A single misstep can turn a clean silhouette into a jagged mess. The good news is that most errors follow predictable patterns. Catch them early, and you can fix them before they set.
Skipping guard sizes
Jumping from a #4 to a #0.5 creates a visible shelf instead of a smooth gradient. The skin tone difference becomes too abrupt. Always step down by half a guard size at a time. This small adjustment keeps the transition invisible, especially on curly or textured hair where shadows are more pronounced.
Pressing too hard
Clippers are precision tools, not sandpaper. Pressing down flattens the hair against the scalp, causing the blade to cut shorter than intended. This often results in uneven patches or "tiger stripes"—horizontal lines that ruin the modern fade aesthetic. Let the teeth do the work. Use light, feathering motions and check your progress in the mirror frequently.
Ignoring the neckline
A sloppy neckline drags down the entire look. Many people rush the back, leaving a thick band of hair or an uneven line. Define your neckline first with a trimmer, then blend it upward into the fade. A clean, sharp baseline anchors the rest of the haircut, making the fade look intentional rather than accidental.
Not blending the sides
The most common mistake is fading the back but leaving the sides disconnected. This creates a "helmet head" effect. Use the same guard progression on the sides as you do on the back. Blend the sideburns into the temples carefully. The goal is a continuous flow from front to back, not isolated zones.
Forgetting to clean up
A fresh fade looks best when the edges are crisp. After blending, use a straight razor or detail trimmer to sharpen the hairline, sideburns, and neckline. Apply a soothing aftershave balm to reduce redness. This final step transforms a good haircut into a polished, professional result.
Modern fade styling: what to check next
Common queries about modern fades often come down to maintenance, hair type suitability, and styling choices. Here are the answers to the most frequent questions.
No comments yet. Be the first to share your thoughts!