
Prep the hair for blending
Modern fades rely on clean, even transitions, starting with proper hair preparation. Straight, wavy, and curly hair behave differently under the blade, so your prep must adapt to the texture. Skipping this step is the most common reason a fade looks patchy.
Wash the hair with a gentle shampoo to remove oils and product buildup, then dry it completely. For straight hair, comb it out to reveal the natural fall. For wavy or curly hair, apply a light leave-in conditioner or styling cream to define the curl pattern. You need to see exactly where the hair sits before you cut; otherwise, you’re guessing at the length.
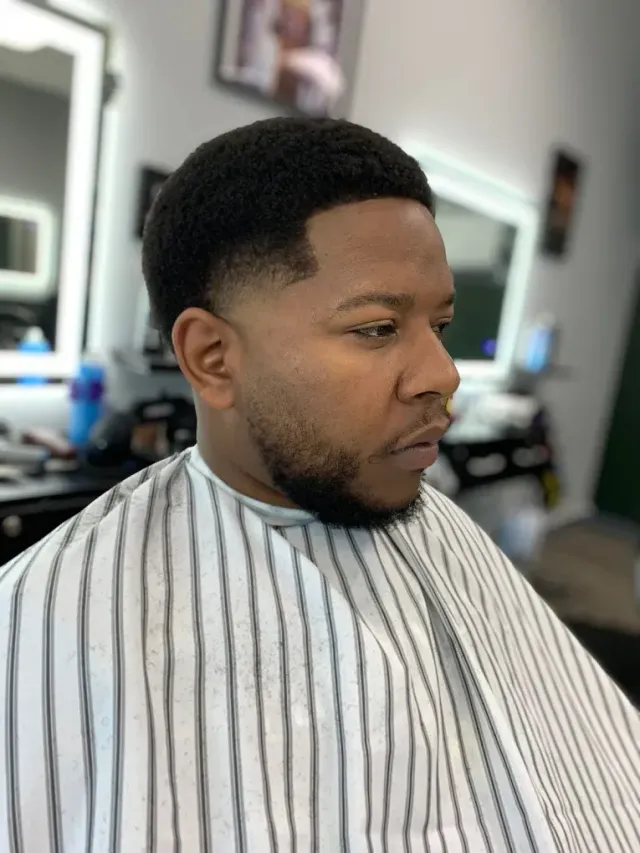
Select tools based on that texture. Straight hair shows every mistake, so use a sharp, high-quality clipper with consistent blade tension. Curly hair hides minor inconsistencies but demands more precision in blending to avoid a "triangle" shape. Wavy hair falls in between, often requiring a slightly wider guard to account for volume.
Different hair textures require different guard lengths and blade tensions. Straight hair shows every mistake; curly hair hides them but demands more precision in blending.
Once the hair is clean, dry, and combed, map out your fade. Check growth patterns and decide where your guideline will sit. This initial setup determines the entire structure of the cut.
Create the initial guideline
Before blending or texturizing, establish a solid baseline. The initial guideline is the structural skeleton of your modern fade, determining where the hair transitions from the shortest length to the longer hair on top. Without a precise guideline, the haircut lacks direction and symmetry.
Part the hair where the fade will begin, usually above the ear and around the sideburns. Use the clipper guard appropriate for the shortest part of your desired fade—often a #0.5 or #1 guard for a skin fade, or a #2 for a lower fade. Run the clippers upward in a steady, controlled motion to establish the bottom edge of the guideline. Keep the blade flat against the scalp to ensure an even cut.
Adjusting for hair type
Hair texture changes how you establish this baseline. Straight hair lies flat, making it easier to see the guideline immediately. Wavy or curly hair can spring up or curl away from the scalp, hiding the true length. For curly hair, cut slightly shorter than you intend, as the curls will expand once dry. This prevents the guideline from appearing too high or uneven after the haircut is finished.
If creating a hard part, use the corner of the clipper blade or a straight razor to define the line before cutting the rest of the fade. A sharp, clean part adds a modern, architectural feel. Ensure the part is symmetrical by checking both sides of the head from multiple angles.
Blend the fade with open and closed levers
The lever on your clippers controls how close the blade sits against the head. When closed, the blade cuts shorter; when flicked open, it lifts slightly, leaving more length. Mastering this motion is the difference between a harsh line and a seamless gradient.
The C-Shape Motion
Think of the lever as a dimmer switch for hair length. Use a smooth, C-shaped motion with the clippers as you move up the head. Start with the lever closed at the bottom, then gradually flick it open as you move upward. This creates a soft transition zone where the skin blends into the hair.
Adjusting for Hair Texture
Hair type dictates how aggressively you can use the lever. Straight hair is predictable; the lever moves through it evenly. Wavy hair requires a lighter touch to prevent waves from bunching up and creating uneven patches. For curly hair, the lever needs to work harder to lift the curls without cutting them too short. Use a slower, more deliberate C-motion to ensure the curls blend naturally.
Avoiding the Line
The most common mistake is stopping the lever movement too early, leaving a visible line where the faded section meets the longer hair. Extend your C-motion higher up the head. Let the lever open fully before you finish the fade to ensure the shortest hair at the bottom merges gently into the longer hair at the top.
Refine the taper and skin fade
Refining a modern fade transitions the cut from a rough shape to a precise style. This phase focuses on blending the taper into the skin or longer hair above, ensuring no visible lines or harsh edges remain.
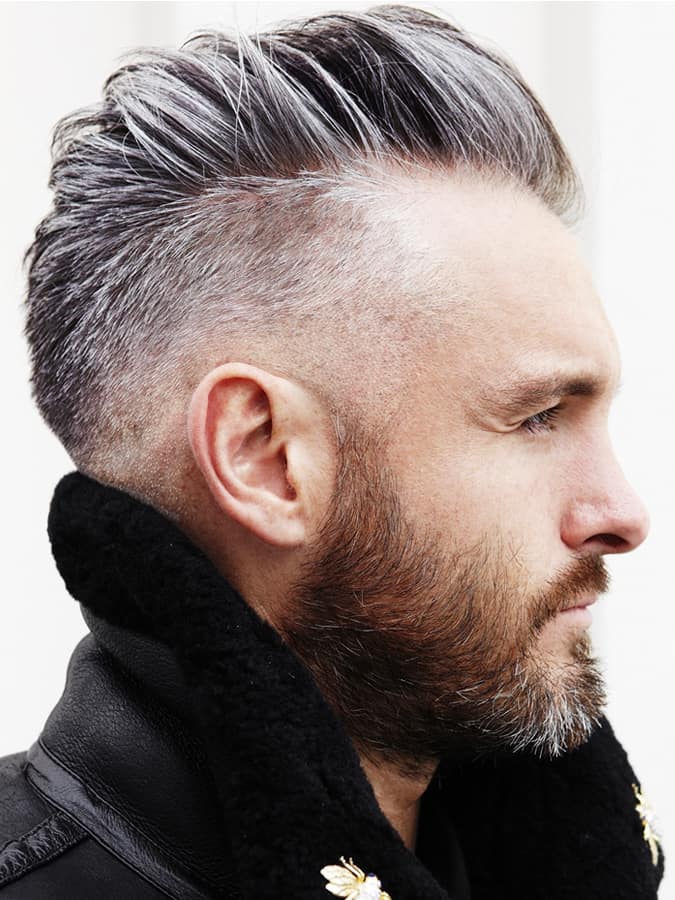
Clean up the perimeter
Define the boundaries using a detail trimmer or a straight razor to sharpen the hairline around the temples and neckline. For a modern look, keep the neckline natural or slightly rounded, avoiding harsh, straight horizontal lines unless specifically requested. Wipe away loose hair with a neck duster to see the true shape.
Blend the gradient
Switch to your clippers with a lever-open guard or a foil shaver to blend the shortest part of the fade into the skin. Work in small, upward motions, feathering the clipper over the area to remove any remaining dark spots. If working with wavy or curly hair, be careful not to over-blend, as texture can create shadows that look like uneven fading. Use a soft brush to sweep away hair as you go, checking the blend from multiple angles.
Final inspection
Step back and check the fade under different lighting conditions. Look for any "banding" or lines where guard sizes changed. If you see a line, go back with a lower guard or the lever open to blend it out. For curly hair, ensure the fade doesn't look too short on the sides compared to the volume on top.
Style for your specific hair texture
A modern fade relies on the contrast between the skin and the hair on top. That contrast looks different depending on your hair type.
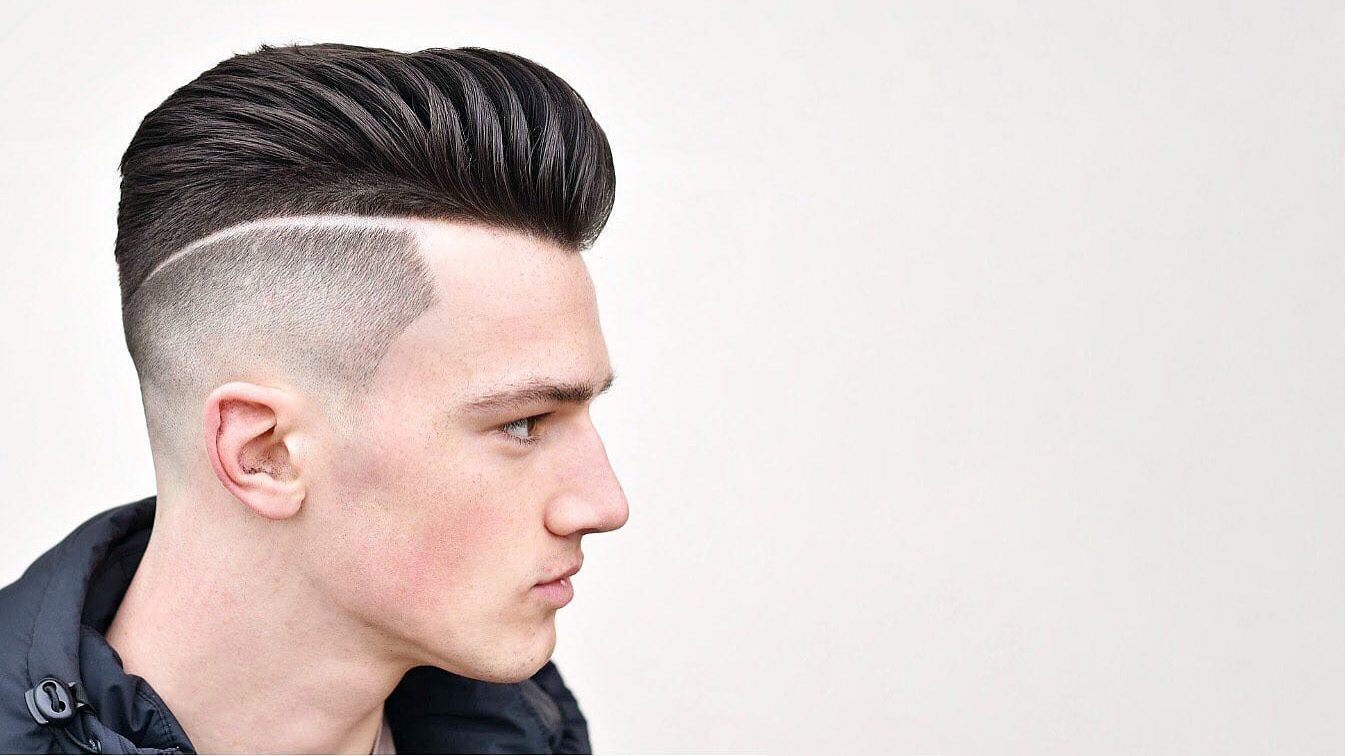
Straight hair
Straight hair lays flat, making the transition from the fade to the top layer very visible. Use a matte clay or pomade to add texture and volume. This prevents the hair from looking greasy or too uniform. A light hold product keeps the style natural while maintaining the clean lines of the fade.
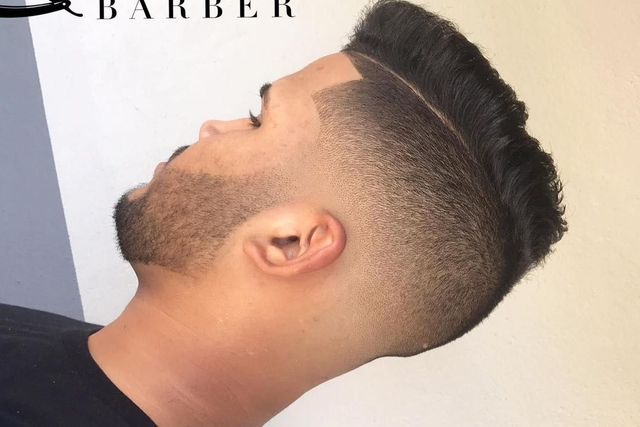
Wavy hair
Wavy hair adds natural movement but can obscure the fade’s crisp edges. Apply a sea salt spray to damp hair to define the waves before blow-drying. Finish with a light-hold cream to keep the waves defined without weighing them down. This balance highlights the wave pattern while keeping the fade distinct.
Curly hair
Curly hair needs moisture to prevent frizz, which can blur the fade’s sharp lines. Use a curl-defining cream or gel on wet hair to clump the curls together. This reduces bulk and keeps the hair contained. Avoid heavy oils that might make the hair look wet or messy. A strong-hold product ensures the curls stay in place without flattening the volume.
Maintain your modern fade
A modern fade starts to blur within days. Keeping the line sharp is mostly about protecting the transition zone and managing how your hair grows out.
Daily and weekly maintenance tasks
- Apply moisturizer daily: Dry skin creates white flakes that ruin the contrast of a fade. Use a light, non-greasy moisturizer on the fade line.
- Use beard oil if applicable: If you have a beard connected to the fade, oil the hair and skin underneath to prevent itchiness.
- Wash with lukewarm water: Hot water strips natural oils, leading to dry, frizzy hair that makes the fade look messy.
- Trim stray hairs weekly: Use precision trimmers to clean up the neckline and sideburns.
-
Moisturize the fade line every morning
-
Wash hair with lukewarm water
-
Trim neckline and sideburns weekly
-
Apply beard oil if beard is present
Common fade mistakes to avoid
Even experienced barbers trip over the same hurdles when executing a modern fade. The difference between a polished look and a botched cut usually comes down to guard selection, blending technique, and attention to detail.
Leaving harsh guide lines
The most common error is stopping the clipper too early, leaving a visible line where the guard changes. This is especially obvious on straight hair.
The Fix: Always blend your guide lines before moving up. Use a lever-open position or a zero-gap clipper to soften the transition. For wavy or curly hair, blend slightly higher to account for shrinkage.
Using the wrong guard for the hair type
A one-size-fits-all approach fails with textured hair. Curly hair shrinks when dry, so a fade that looks perfect on wet hair can end up too high and tight once it dries. Conversely, straight hair can handle a sharper, lower transition because it lays flat.
The Fix: Adjust your starting point based on the client’s texture. For curly hair, start blending higher and use a lighter touch. For straight hair, you can go lower and sharper. Always cut dry or nearly dry to see the true fall of the hair.
Ignoring the neckline and sideburns
A clean fade is ruined by a sloppy neckline or uneven sideburns. Many barbers rush the final detailing, leaving stray hairs or an asymmetrical finish.
The Fix: Take your time with the edging. Use a trimmer with a T-blade for sharp lines. Check symmetry from multiple angles. A quick pass with a foil shaver can clean up any remaining fuzz for a crisp, modern finish.
Frequently asked questions about modern fades
Modern fades are a versatile haircut that works with most hair types, but the execution changes based on your texture.
Work through The Skin Fade Renaissance
No comments yet. Be the first to share your thoughts!