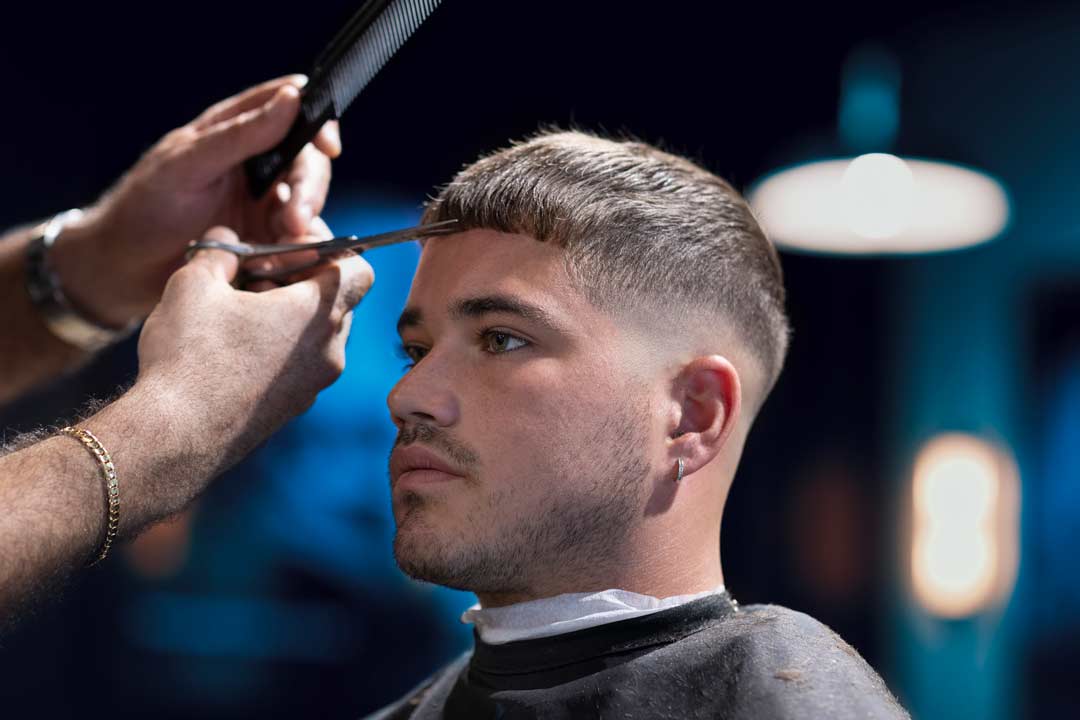

Choose the right fade height
The fade height determines where the gradient begins on your head, acting as the anchor for your entire modern fade. Pick the wrong height, and you might exaggerate a long face or disappear into a curly texture that needs more structure. Think of the fade line like a horizon; it sets the balance for your features.
To find your match, look at your face shape and hair texture. A low fade keeps the transition near the temples, offering a conservative look that works well with straight hair or round faces. A mid fade sits at the temple's top, providing a versatile middle ground for most oval or square faces. A high fade climbs above the temple, creating a sharp, aggressive contrast that suits angular faces and coarser, curly hair types that need a defined boundary.
Use this table to compare how different fade heights interact with your specific features:
| Fade Height | Best Face Shape | Hair Texture Note |
|---|---|---|
| Low | Round or Oval | Works with all textures; subtle transition |
| Mid | Square or Oval | Versatile; balances most features |
| High | Square or Diamond | Adds vertical length; good for curls |
Blend the sides and back
A modern fade relies on a smooth gradient from skin to hair. This gradient is built by moving through clipper guards in a specific order, blending the hard lines as you go. Think of it like painting a wall: you start with the base color and then feather the edges until the transition is invisible. The goal is to remove bulk without creating steps or harsh bands of different lengths.
Start with a higher guard
Begin the fade process with the largest guard that still covers the bulk of the hair you intend to remove. A #2 or #3 guard is a common starting point for most hair types, depending on how much length you need to take off. Run the clippers up the side of the head, following the natural curve of the skull. This initial pass removes the majority of the weight and establishes the baseline for the fade. Keep the clippers flat against the scalp to ensure an even cut.
Work down with smaller guards
Once the bulk is removed, switch to a smaller guard, such as a #1 or #1.5, to begin carving out the lower section of the fade. This is where the gradient begins to take shape. Instead of a full pass from bottom to top, use a "flicking" motion. Start at the bottom of the hairline and flick the wrist outward as you reach the transition zone. This technique, often called the "C-motion," prevents hard lines and helps blend the shorter hair into the longer hair above.
Blend the transition zones
The most critical part of a modern fade is blending the junctions between guards. After using the #1 guard, switch to a #0.5 or a lever-adjustable clipper without a guard. Use the corner of the blade to lightly blend the area where the #1 guard ended. Repeat this process, moving up the head with progressively smaller guards or lever adjustments. Each pass should overlap slightly with the previous one to ensure a seamless transition. If you see a line, it means you haven't blended enough; go back with a smaller guard or use the lever to open the blade slightly for a softer cut.
Refine with the lever and open blade
As you approach the skin, use the clipper lever to fine-tune the blend. Opening the lever slightly allows more hair to enter the blade, creating a softer transition near the skin line. This is especially useful for creating a "skin fade" where the hair gradually disappears into the scalp. Use the corner of the blade for precision work around the ears and sideburns. Check your work frequently by combing the hair down and looking for any remaining lines or uneven patches. The final result should look like a smooth shadow, not a series of distinct steps.
Clean up the neckline and edges
Finish the fade by cleaning up the neckline and sideburns. Use a trimmer or a clipper without a guard to create a sharp, clean line. For a modern look, a straight or slightly curved neckline is preferred over a rounded one. Define the sideburns to match the length of the fade, ensuring they taper naturally into the sideburn area. Wash the hair to remove loose clippings, then inspect the fade in natural light to ensure the gradient is even and smooth. Make any final adjustments with the clipper lever or a smaller guard if necessary.
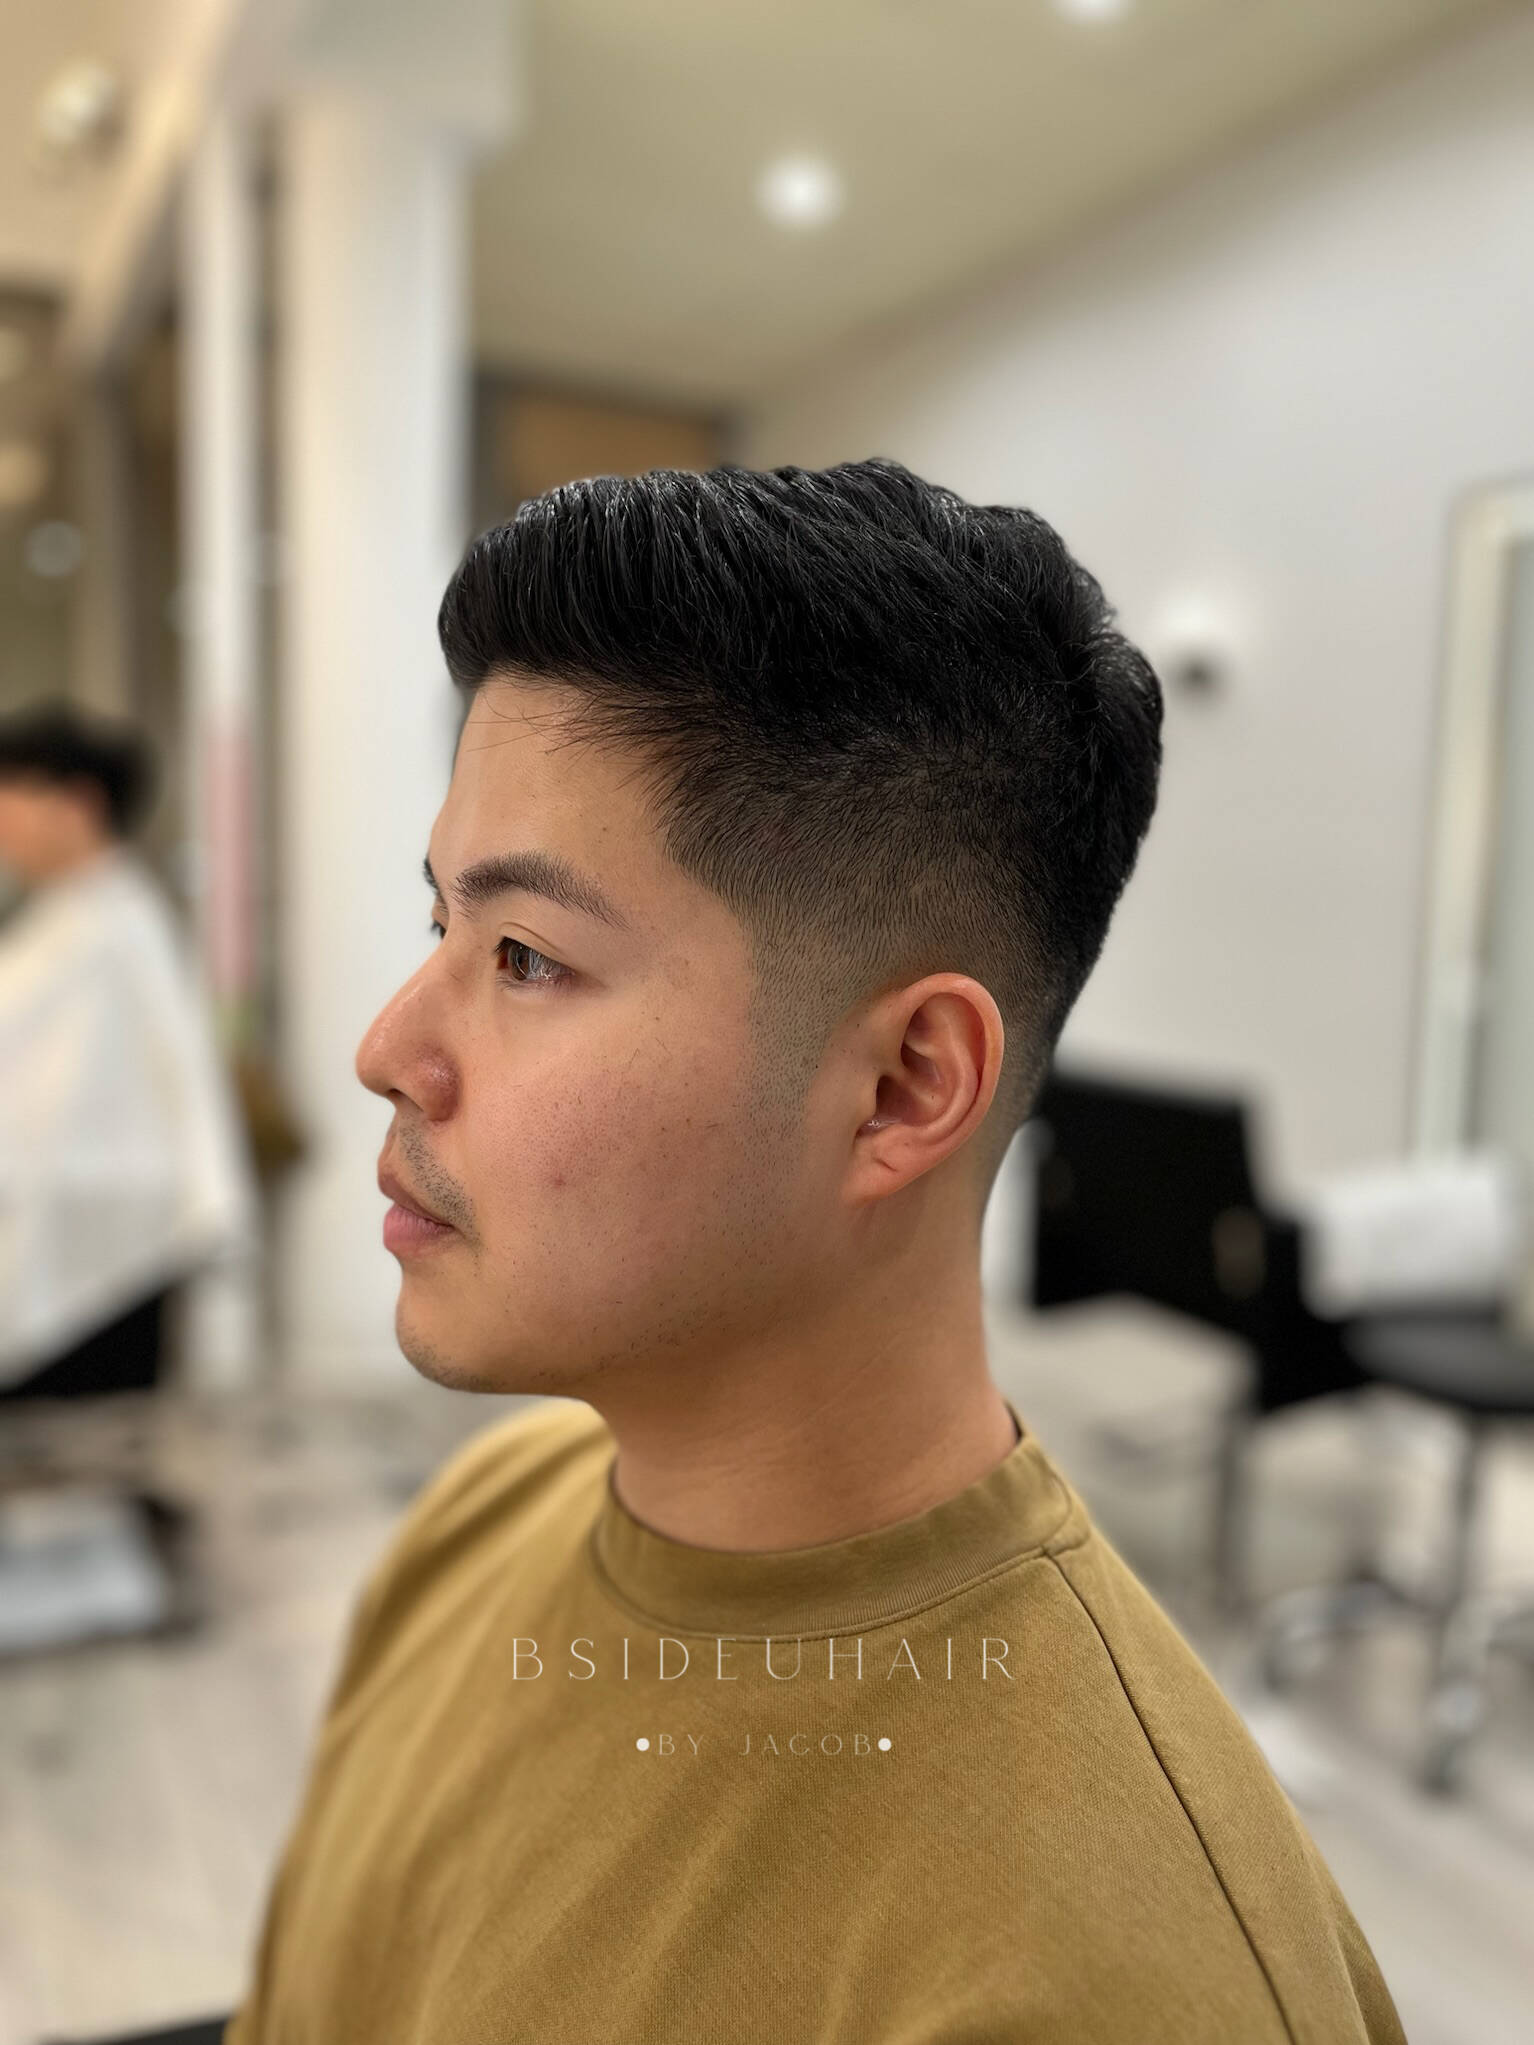
Style the top for your hair type
The fade sets the foundation, but the top defines the modern fade’s character. Texturizing and styling the crown requires matching your product and technique to your natural hair pattern. Straight, wavy, and curly hair each demand a different approach to create volume and shape without fighting your genetics.
Straight hair
Straight hair lays flat easily, so the goal is to create lift at the roots. Use a pre-styling spray or light mousse on damp hair before blow-drying. Direct the airflow upward while using a vent brush to pull the hair away from the scalp. This mechanical lift is essential because straight hair lacks the natural body to support a modern fade’s height.
Once dry, apply a matte clay or fiber pomade. These products provide hold without shine, which prevents the "helmet" look common with waxy finishes. Work the product through the mid-lengths and ends, then use your fingers to push the hair up and back. Avoid heavy gels, which can weigh down fine strands and make the top look sparse against the sharp fade.
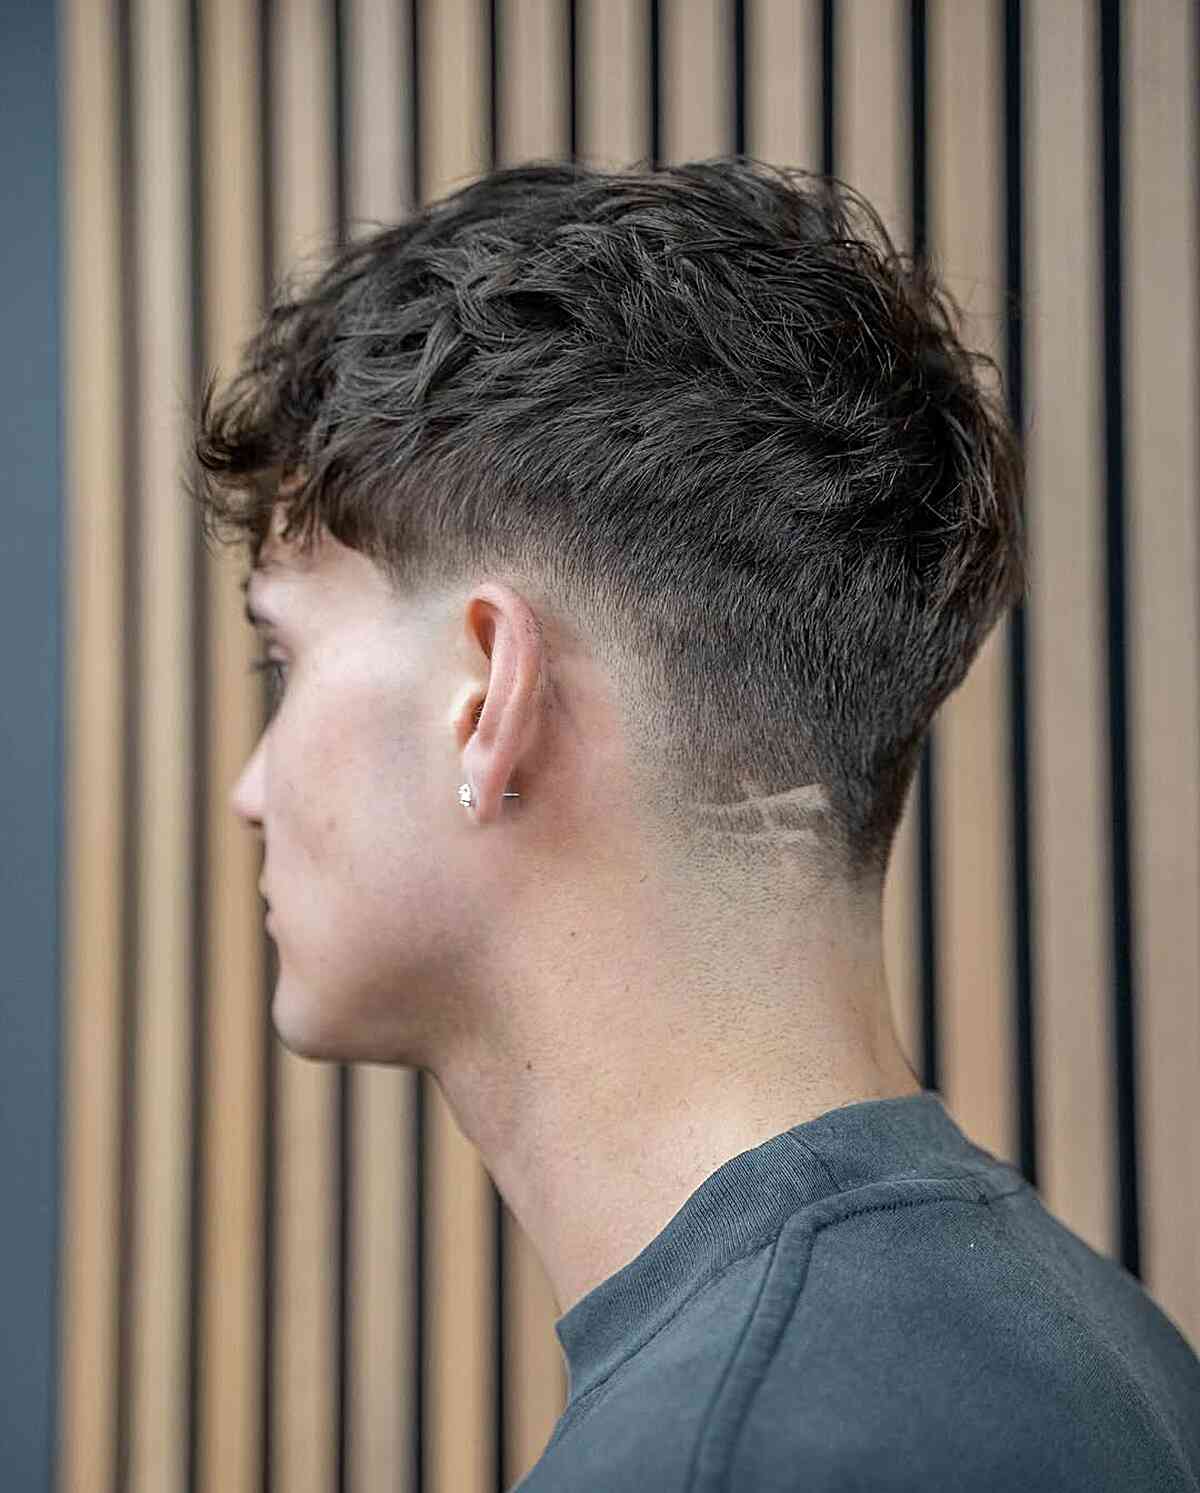
Wavy hair
Wavy hair has natural texture that works in your favor, but it needs definition to prevent frizz. Start with a sea salt spray on damp hair to encourage wave formation and add grit. Scrunch the hair gently with your hands as you air dry or use a diffuser on low heat. This step ensures the waves are established before you add hold.
Finish with a light-hold cream or a flexible matte paste. Apply sparingly to avoid crunchiness. The aim is to enhance the existing wave pattern while keeping the silhouette clean. If your waves are loose, you can use a small amount of texturizing powder at the roots for extra lift without adding weight to the ends.
Curly hair
Curly hair requires moisture and control to maintain shape. Apply a curl-defining cream or leave-in conditioner to soaking wet hair. Use a wide-tooth comb to distribute the product evenly from root to tip, ensuring no tangles remain. This hydration step is critical for preventing shrinkage and maintaining the volume needed to balance the fade.
For styling, use a strong-hold gel or a curl-enhancing mousse to lock in the pattern. Scrunch the hair upward to encourage clumping. As the hair dries, avoid touching it excessively to prevent frizz. Once completely dry, you can "scrunch out the crunch" by rubbing a tiny amount of hair oil between your palms and gently lifting the curls. This keeps the modern fade looking sharp while letting the natural texture shine.
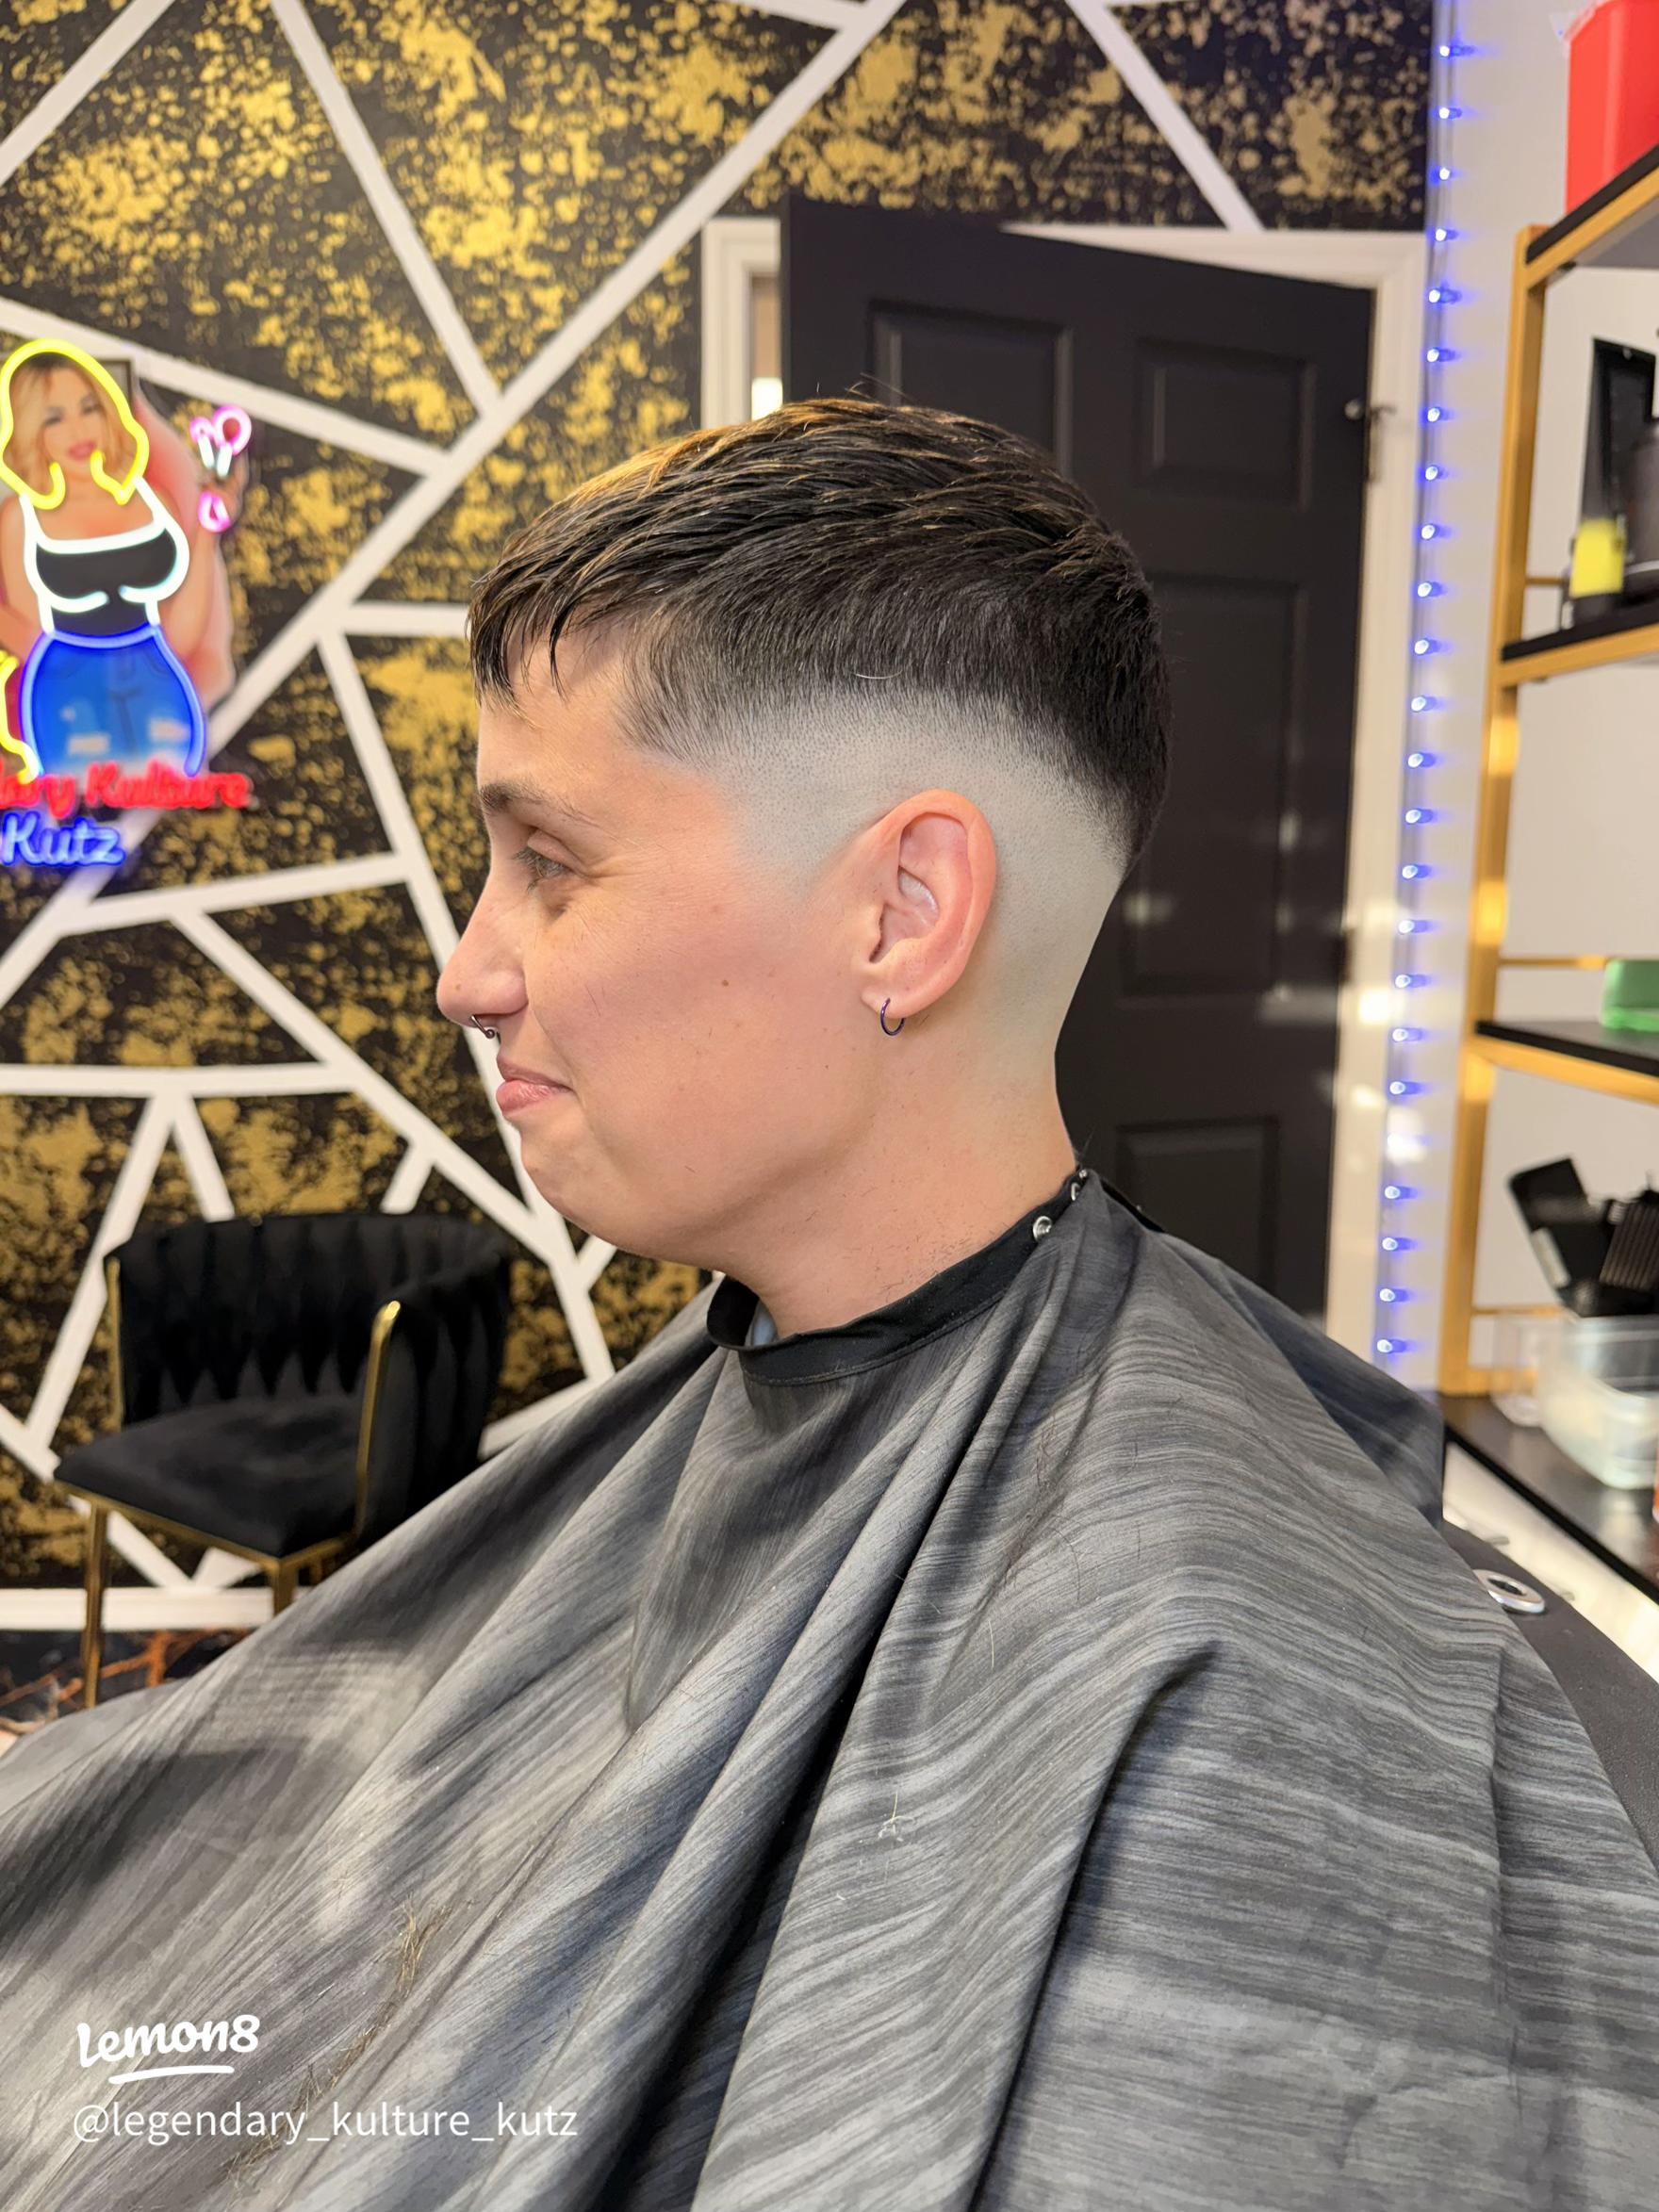
Maintain the sharp lines
A modern fade looks best when the edges stay crisp. The transition between skin and hair is where the style lives, and letting that line get fuzzy makes even a fresh cut look weeks old. You can keep the geometry clean at home with a few minutes of weekly maintenance.
Start with a clean neck. Use a small trimmer or a straight razor to define the neckline and clean up any stray hairs around the ears. This simple step instantly sharpens the overall look. For the sideburns, decide on a shape—square, tapered, or natural—and stick to it. A sharp line here frames the face and keeps the fade from looking messy.
To keep the fade itself smooth, use a foil shaver or a clipper with a guard set to zero along the transition line. Go slowly against the grain to remove any stubble that creates a shadow. If you have a mirror, check the back of your head to ensure the lines are even. This edge-up process takes less than ten minutes but extends the life of your haircut by days.
-
Clean the neckline with a trimmer or razor
-
Define sideburn shape and remove stray hairs
-
Use a foil shaver to smooth the fade transition
-
Check symmetry in a mirror before finishing
Avoid over-trimming the top. The goal is to sharpen the perimeter, not change the length of the main style. If you find yourself cutting more than just the edges, it’s time to book a barber. Regular maintenance between cuts keeps the modern fade looking intentional and sharp.
Essential tools and products
Achieving a modern fade requires precision equipment and the right finishing products. You don't need a full salon setup, but cheap tools will leave jagged lines and uneven transitions. Start with a reliable cordless clipper system that offers consistent torque, even when the battery is low. Pair this with a dedicated trimmer for sharp edges around the ears and neck. The blade quality matters more than the brand; look for stainless steel that stays cool during use to prevent skin irritation.


As an Amazon Associate, we may earn from qualifying purchases.
Maintenance products complete the kit. A light mineral oil keeps blades running smoothly between cuts, while a quality pomade or clay provides the texture needed for the top section. Avoid heavy gels that weigh down the hair and contradict the modern aesthetic. Keep your tools clean and oiled to ensure every fade looks as sharp as the first.
Common modern fade mistakes to avoid
Even with the right tools, a modern fade can go sideways if the execution isn't precise. The difference between a sharp, clean look and a messy, uneven one often comes down to a few recurring errors. Recognizing these pitfalls helps you troubleshoot your own results before they become permanent.
Leaving visible demarcation lines
The most common failure is failing to blend the transition zones. When you switch from a higher guard to a lower one, or move from the clippers to the trimmers, you must feather the edges. If you stop cutting abruptly, you create a hard line that looks like a shelf. Use a flicking motion with the clippers to disperse the hair density gradually. This technique ensures the fade flows smoothly from the skin up into the longer hair on top.
Over-trimming the hairline
It is tempting to go too low on the sides to make the fade look "skin tight," but this often results in an uneven or overly aggressive look. If you cut too much into the natural hairline, you may end up with bald spots or an unnatural shape that doesn't match your head structure. Always start with a higher guard and work your way down, checking the symmetry frequently. A slight mistake at the bottom is much harder to fix than a slightly higher starting point.
Ignoring the back and crown
Many people focus entirely on the sides and forget the back of the head. The fade must wrap around seamlessly. If the back is left longer or disconnected from the sides, the entire style looks unbalanced. Use the mirror to check the back continuously while you work. Ensure the fade line curves naturally to match the shape of your head, rather than cutting a straight horizontal line that sits awkwardly on the nape.
Using dull clippers or improper technique
Dull blades pull hair rather than cutting it cleanly, which leads to uneven lengths and irritation. Always use sharp, clean blades and apply light, even pressure. Rushing through the blending process is another frequent error. Take your time with the smaller guards and the trimmers to achieve that crisp, modern finish. Patience and precision are the keys to a flawless fade.
Frequently asked questions about modern fades
Work through The to Low-Maintenance Modern Fades
No comments yet. Be the first to share your thoughts!